Those of you that follow me on Facebook or Twitter @nealasher will be aware that throughout the winter I read a lot of science articles – usually about ten every morning until my mind has warmed up a bit. Of the many things I’ve been following with interest is the evolution of the 3D printer. This is one of those items I’ve mulled over getting for myself, and I may yet buy one (though a quadrotor, satellite watch and underwater camera are first on my shopping list). It was, therefore, great to see that one of my fans, JeffPerkins, has a 3D printer and has been posting his progress with it on Facebook. It was even more enjoyable to see him having a crack at the prador, so I asked him if he could do a post on that here.
Jeff Perkins:
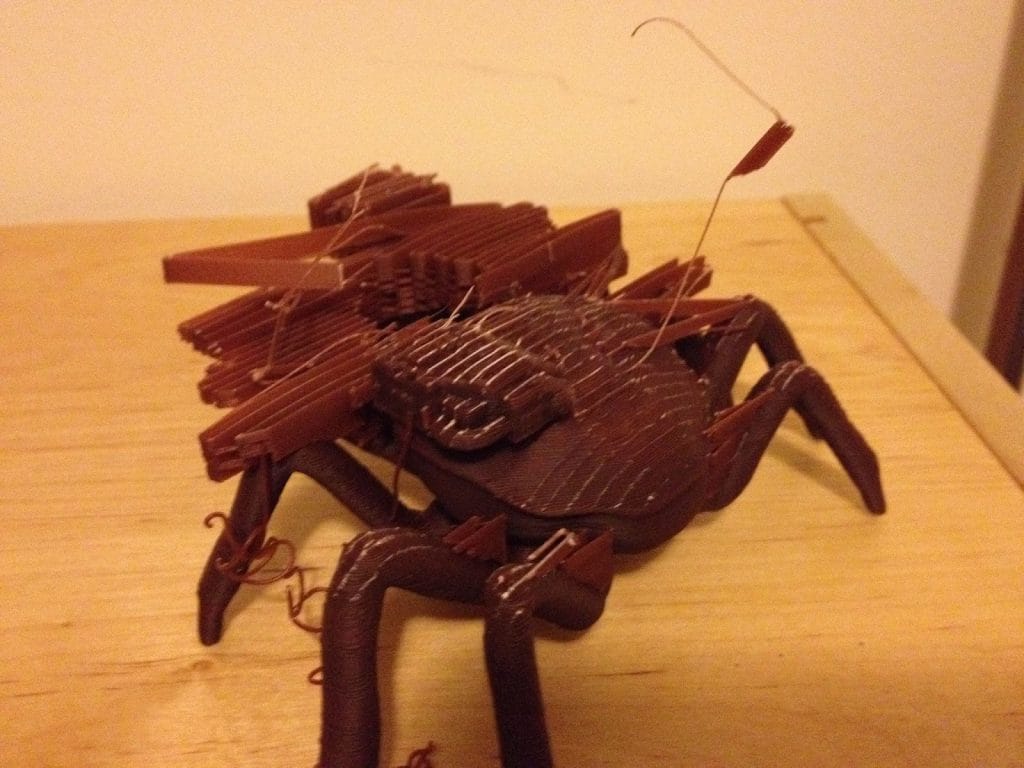
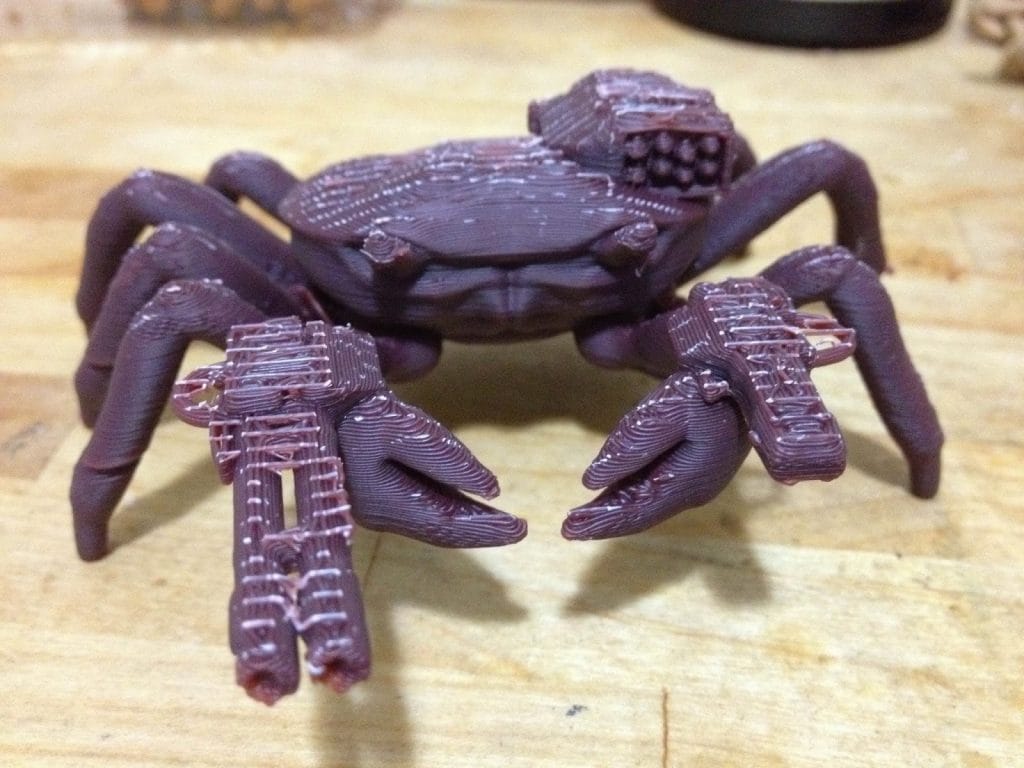
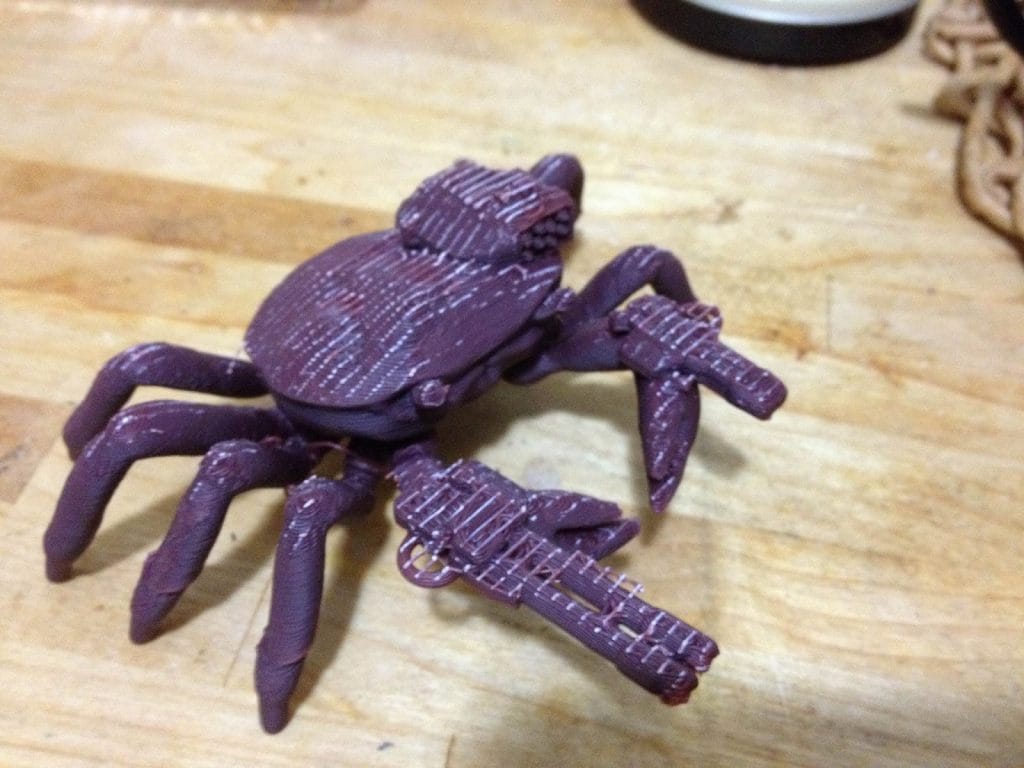
For the sake of coherence, I thought I would restrict the pictures to just the crab print, as it gives a better idea of the process using just one.
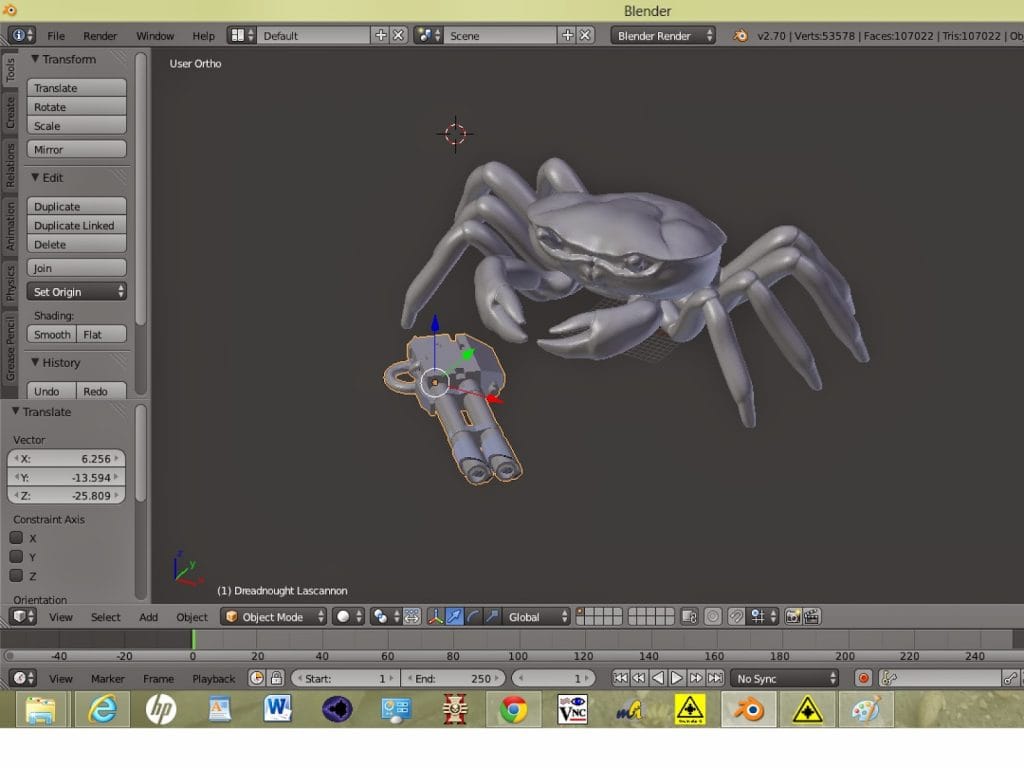
I have included a picture of the design stage – adding the bits together in Blender (a 3d design and animation program). I pull the different pieces in there to re-size, rotate etc and weld together. Once done, I export the final piece into a .stl file, which is pretty much the standard for transferring models between programs for 3d printing. .stl comes from “STereoLithography”, and the file type can be used across many types of printers and laser cutters.
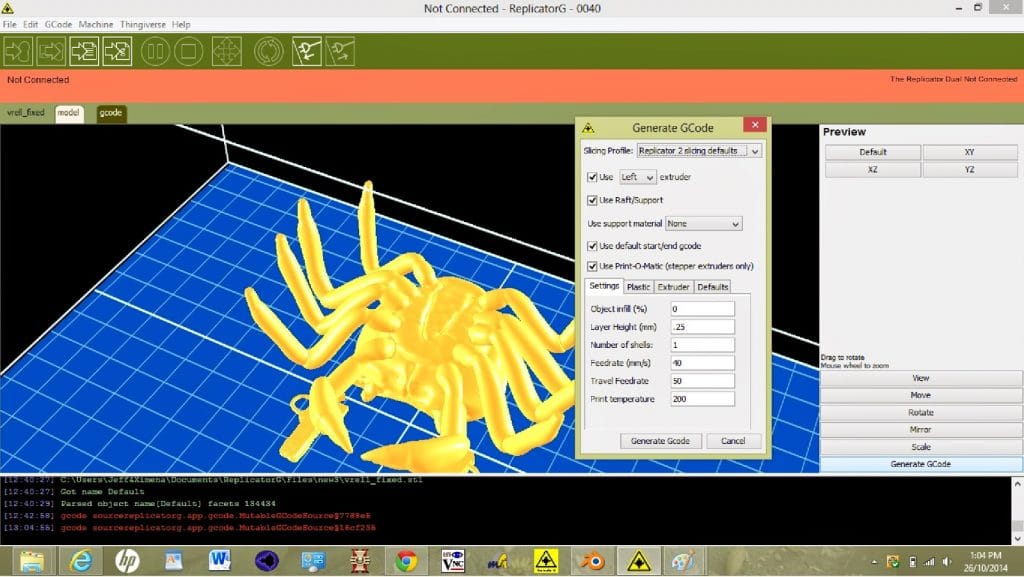
I then load the .stl file into ReplicatorG – this is one of a number of programs that take the model file and convert it into GCode, which is the scripting language 3d printers use to make the prints. The model can be re-sized and rotated about to make it fit on the print bed better as necessary. From there, you generate the GCode, selecting things such as the speed of printing, the amount of infill (a lattice support inside the structure, 10% gives good support and saves a lot of time and plastic, as opposed to making a solid model). The temperature can also be selected here, and this has a lot of bearing on print quality because differing plastics require different temperatures to print well – even different batches of the same plastic can require slightly different temps for optimum printing.
Once this has all been selected, the computer generates the script – this can take anywhere from a minute or two, to hours for a really large, complex model. I then load the resulting file on an SD card and print from that in the printer – you can connect it up to the computer, but I have found it much
less fiddly to print from the card and not connect the printer to the computer at all. Not all printers offer the SD card capability, unfortunately.
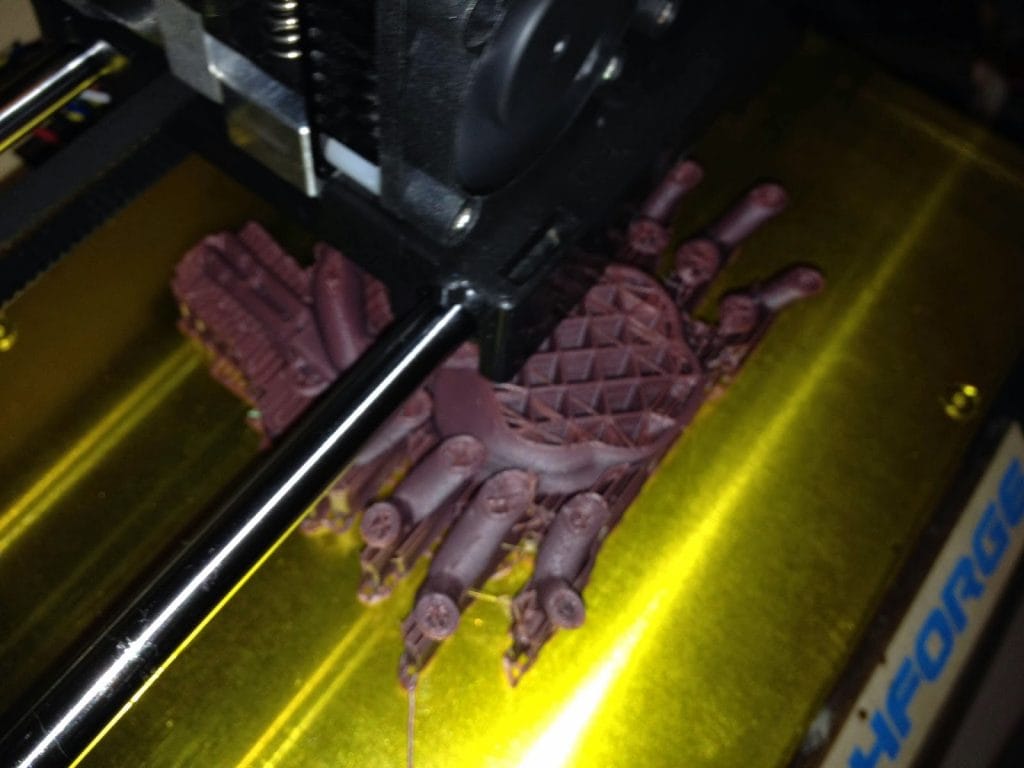
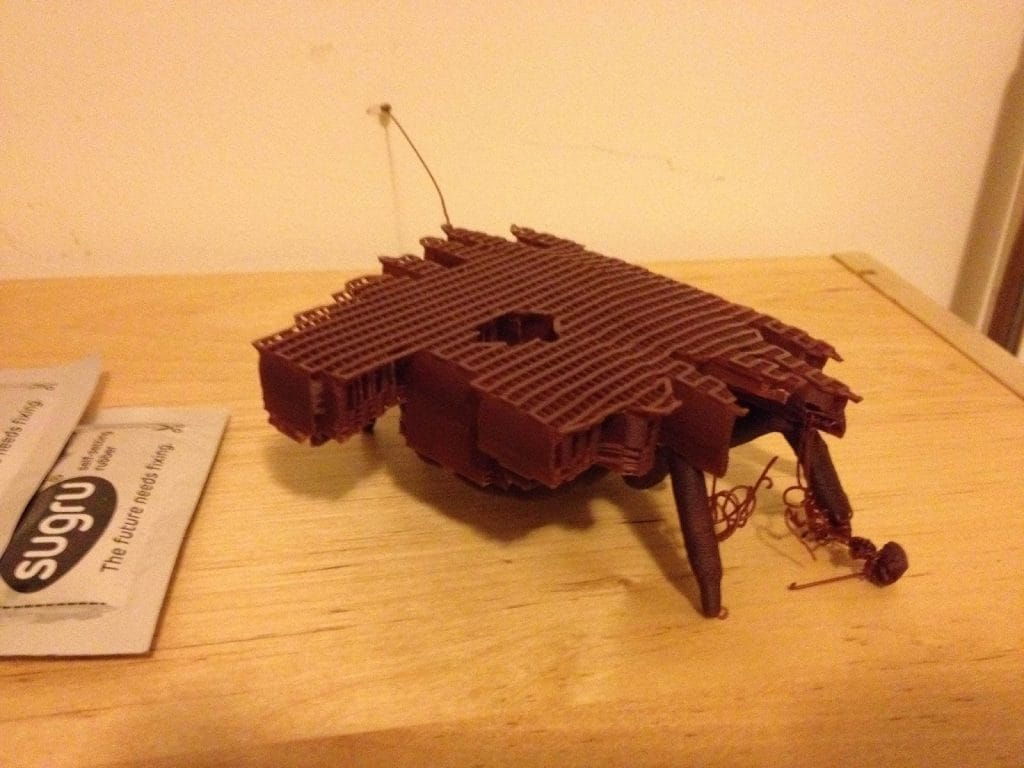
From there, the printer prints! I had crabby print upside-down after the first print. I tried with him the right way up but failed badly – the legs came off mid-print, things were getting warped and it was a mess. It printed well upside-down, the only unfortunate thing being that the support mesh leaves a lot of marks on the surface it touches. For a really good print I am going to have to configure it to print right-side-up and have the support structure leave the marks underneath.
But that is the joy of 3d printing! It is a technology very much in its infancy and in the experimental stage, and even an unsuccessful print is a good print, as you can always take something away from it to improve the next one.
I hope the above info and the pictures is of some use to you, and the sort of thing you were after.
Let me know if you want anything else and I can send it off. I will be doing a lot more work on crabby in the next few weeks to convert it into something a lot more like the Prador descriptions in your books, hopefully. I’ll let you know how it goes.
…
Thank you, Jeff.
